Game 7 of our Mordheim campaign came around.
The title of this one was "The Hanging Tree" and it was basically a fight to the last, over some wooded terrain. We had all the usual suspects, which were:
My Beastmen
Rory's Kislevites
Ian's Reiklanders
Andy's Sisters of Sigmar
Dave's Marienburgers
After the last game I was determined to at least get involved in a good old scrap, and as long as that happened I would be pretty happy, whatever the result. Once again we used the random deployment and ended up in one corner, sandwiched between the Sisters and the Kislevites.
By this time in the campaign the Sister's had grown to 14 models and The Kislevites had hired an Ogre Bodyguard.
 |
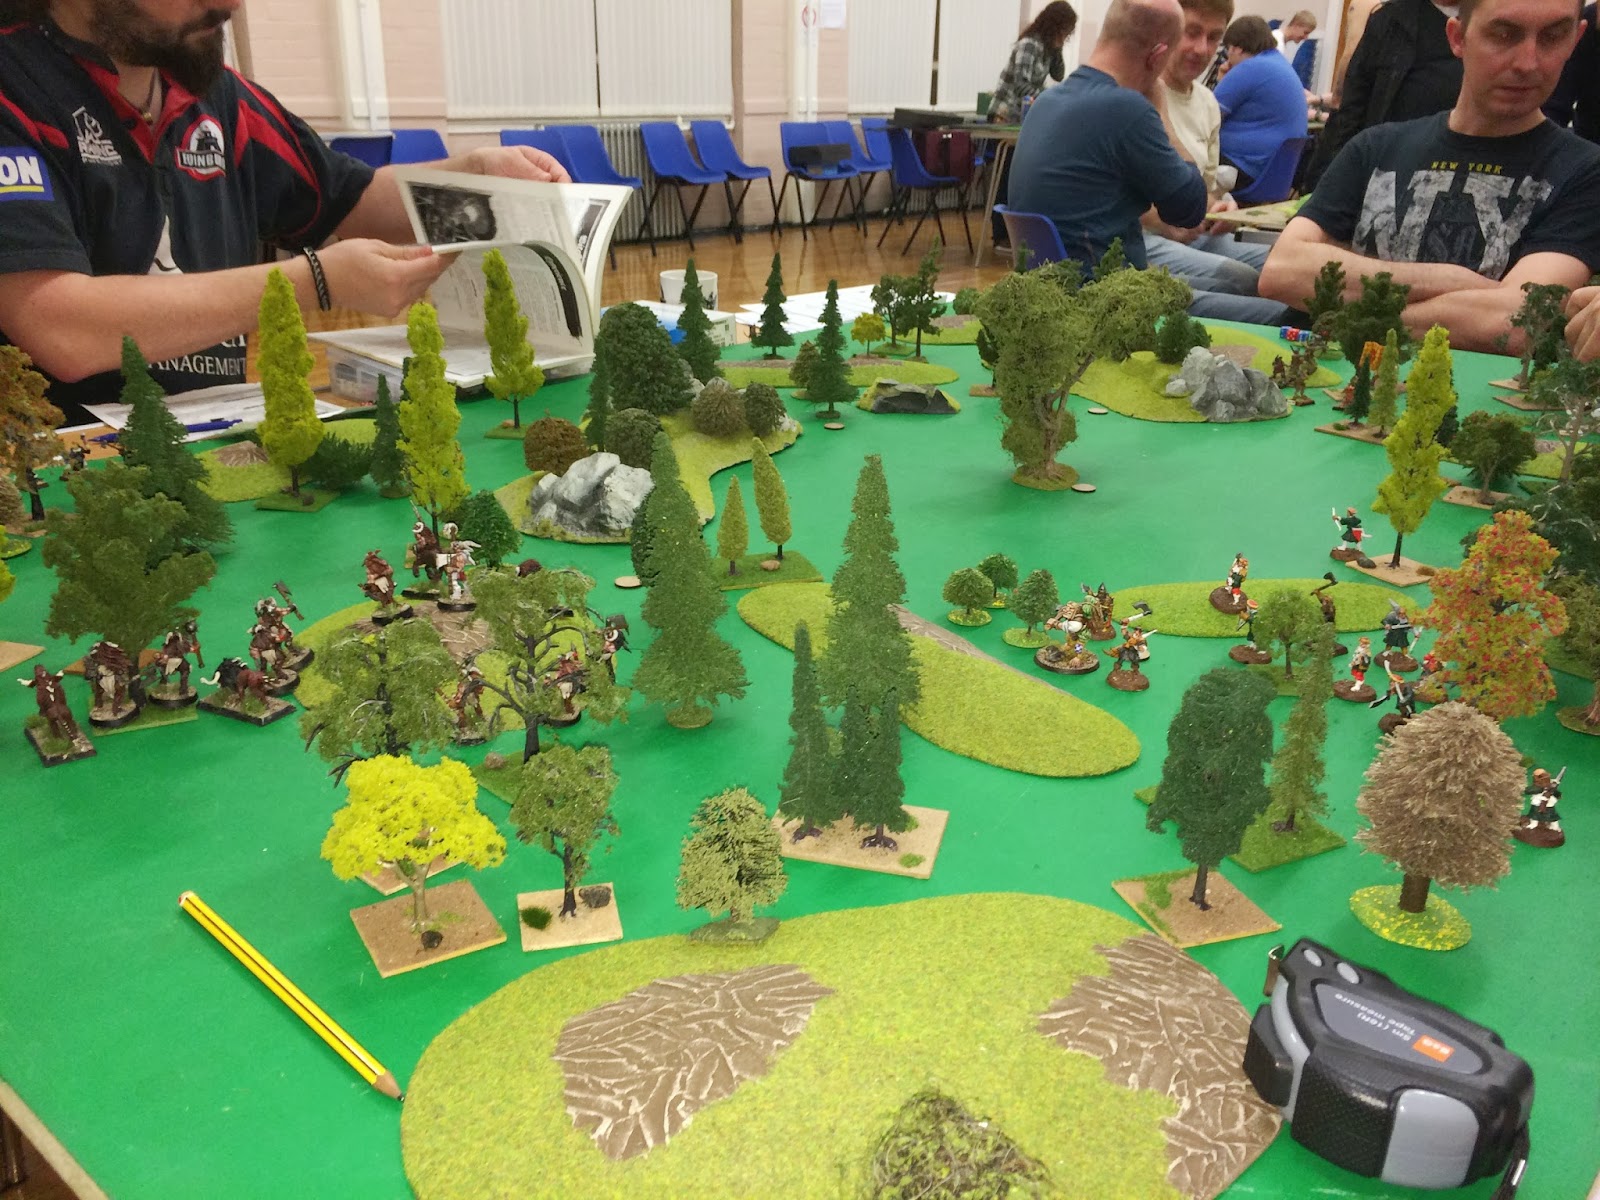
| Initial Setup |
 |
| My Beastmen hiding in the corner. |
Early game and my Centigor behaved as I made some cautious moves towards the Sisters in the next corner, while the Marienburgers and the Reiklanders started to take pot shots at each other. In the centre of the board the Kislevites made a straight line for my Beastmen and I realised that unless I did something pretty drastic I would end up fighting two warbands at once, which is not an ideal situation.
 |
| Kislevites start to creep up on my corner of the woods. |
 |
| Sisters and Beastmen square off. |
I decided to get stuck in to Andy's Sisters as soon as possible and he obligingly lined his warband up in just within charge range. In my turn I got stuck in and managed to inflict enough casualties in a single round of combat to take him over his break point. In his turn he failed his rout test and fled the field. One down.
 |
| The Beastmen take a very short breather after seeing of the Sisters. |

On the other side of the board the Marienburgers and the Reiklanders got stuck into each other, with Ian eventually coming out the victor when Dave decided that his casualties were too heavy and quite the field.
The Beastmen and the Kislevites engaged each other in a piecemeal fashion, with the vanguard of the Kislevites getting the drop on their hairy opponents. The beastmen swamped the vanguard and then sent some troops out to intercept the rest of the Reiklanders and everything was looking good for the Beastmen.
The two warbands traded blows and both started to suffer some casualties, with both sides reaching their break points. In the end it was the Beastmen who failed the rout test first, despite having a reroll and quite the field. Rory decided that he had taken too much of a mauling and also quite the field, leaving Ian and his Reiklanders victorious.


All in all a good game, although I did feel slightly ganged up on. I did manage to get the good scrap I was hoping for and generally came out of the game quite well. One Warhound was killed and one of my Heroes lost all his kit. Losing all their gear is becoming a bit of a habit for my warband.
I noticed a few things in tonight's game:
Despite a 50/50 chance of getting his spells off, my Shaman failed every attempt, which ultimately led to his demise. This is a running theme in this campaign.
All of my warband have helmets to help protect them from getting stunned but when I am in combat it is usually a case of my opponent either misses completely or puts their opponent out of action, with nothing in between.
I fluffed all my attacks at a crucial part of the game, just when I had Rory on the ropes. This is becoming a bit of a theme for me as a similar thing keeps happening in Impetus. Or perhaps it is just these moments that stick in the head. It definitely seemed as if I was in a perfect position to do some damage and had a round or very poor dice rolling. That is the nature of wargaming though, nothing is ever certain.
I have pretty much run out of things to buy. There is not much equipment and I am unable to get any Hired Swords, so am ending up hoarding all my cash to replace any losses.
All in all an excellent game, and I got the scrap I wanted. Three more games of this campaign left to run and I will be sad to see it come to an end.
I thought my tea was out but your dice towards the end were pretty poor but I was happy to scrape through with similar losses. The staggered approach was deliberate which seemed to work as 'lining' up for the attack has been the downfall against the Beasties several occaissons. Good scrap though :-)
ReplyDeleteI tried the staggered approach, my second line didn't have a chance to make it to contact. (Blasted Morale checks) Seemed like it all went quite well though.
ReplyDelete