Showing posts with label LOTR SBG. Show all posts

Tuesday, 11 April 2017

Isen Fords

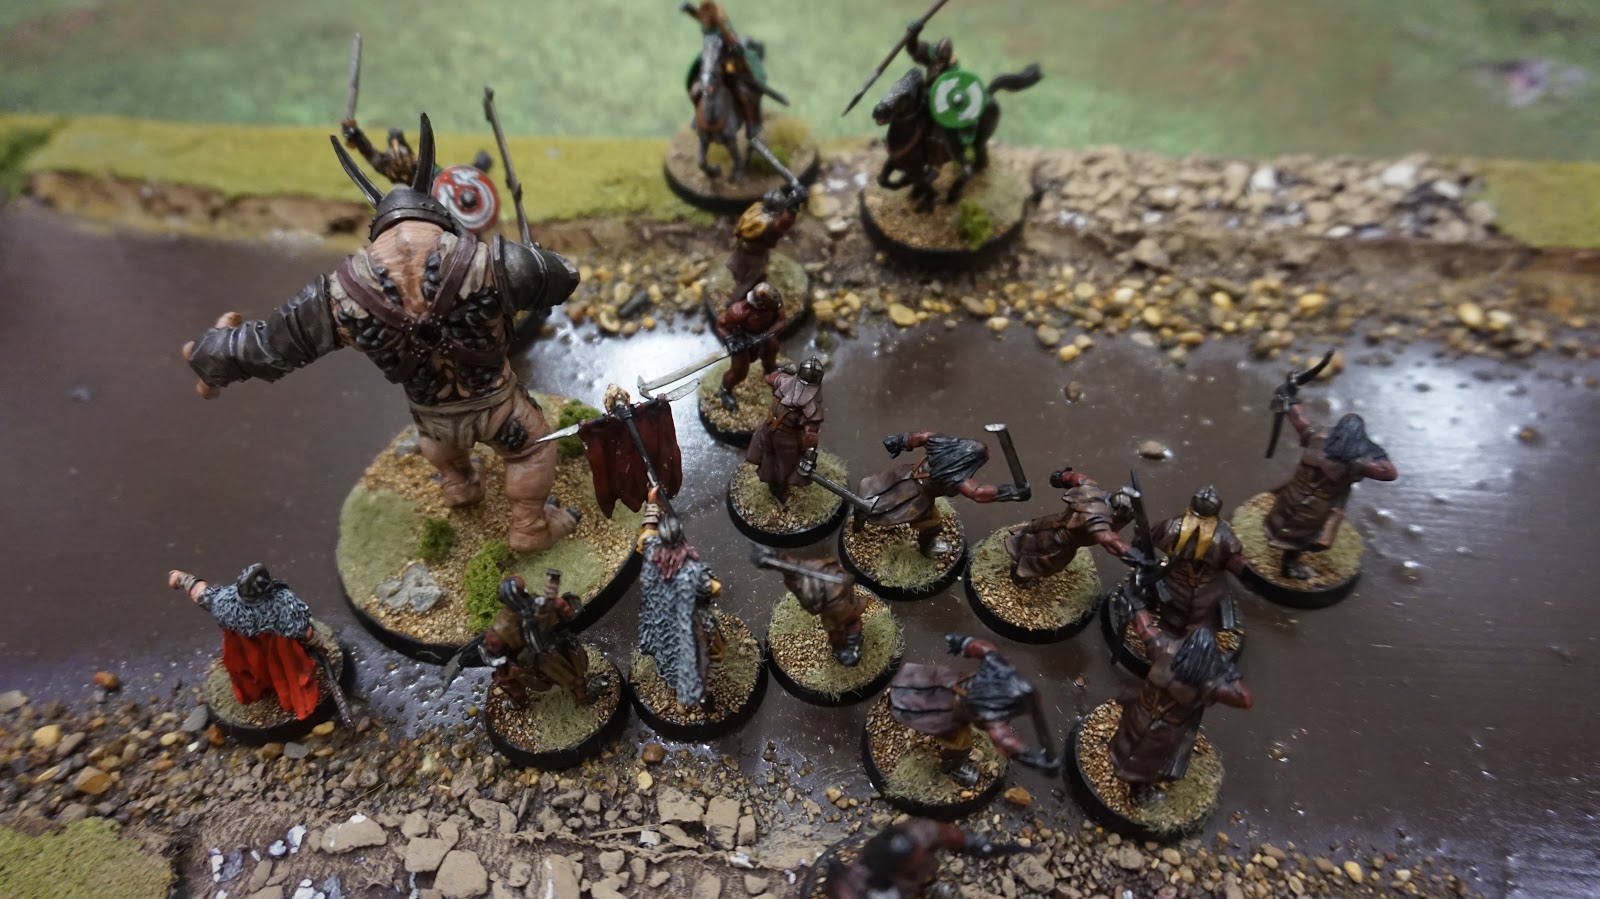
I haven played any games of GW's excellent Lord of the Rings skirmish game recently, so a few of us got together and played out the first Isen Fords scenario on Monday night.

We actually managed a pretty accurate result, with the Fords holding (just!) but Theodred having his head caved in by a Troll.  The game was a draw, and a lot of fun.   Rohan had some terrible luck though, with their reinforcements arriving very late.
Both sides deployed.

The thin green line.

Death to the straw heads!


Battle is joined.


The fords are holding, just.


The cavalry arrive (mote Theodred has been skulking at the back the whole time, coward).

Isengard nearly force the ford.


Cavalry bolster the defence. Drat!

Theodred meets his end at the hands of the Troll.

Erkenbrand also comes a cropper.

Tuesday, 9 February 2016

War in Middle Earth, Part2

This week we decided to have another go at War of the Rings, although this time it would only be for 1000 points, to make things a bit easier to complete.

I took last weeks 1500point lists and scaled them down a bit, with the Rohan lost looking like this:

Oathsworn Warriors (5 Companies)
Oathsworn Bowmen (2 Companies)
Riders of Rohan Eored (6 Companies)
Erkenbrands Eored (5 Companies)
Knights of Rohan (5 Companies)
Théoden, King of Rohan.

The Isengard ended up with:

Uruk Hai Phalanx (4 Companies)
Uruk Hai Warband (4 Companies)
Isengard Troll
Uruk Hai Scouts (4 Companies)
Vrasku's Talons (2 Companies)
Lurtz

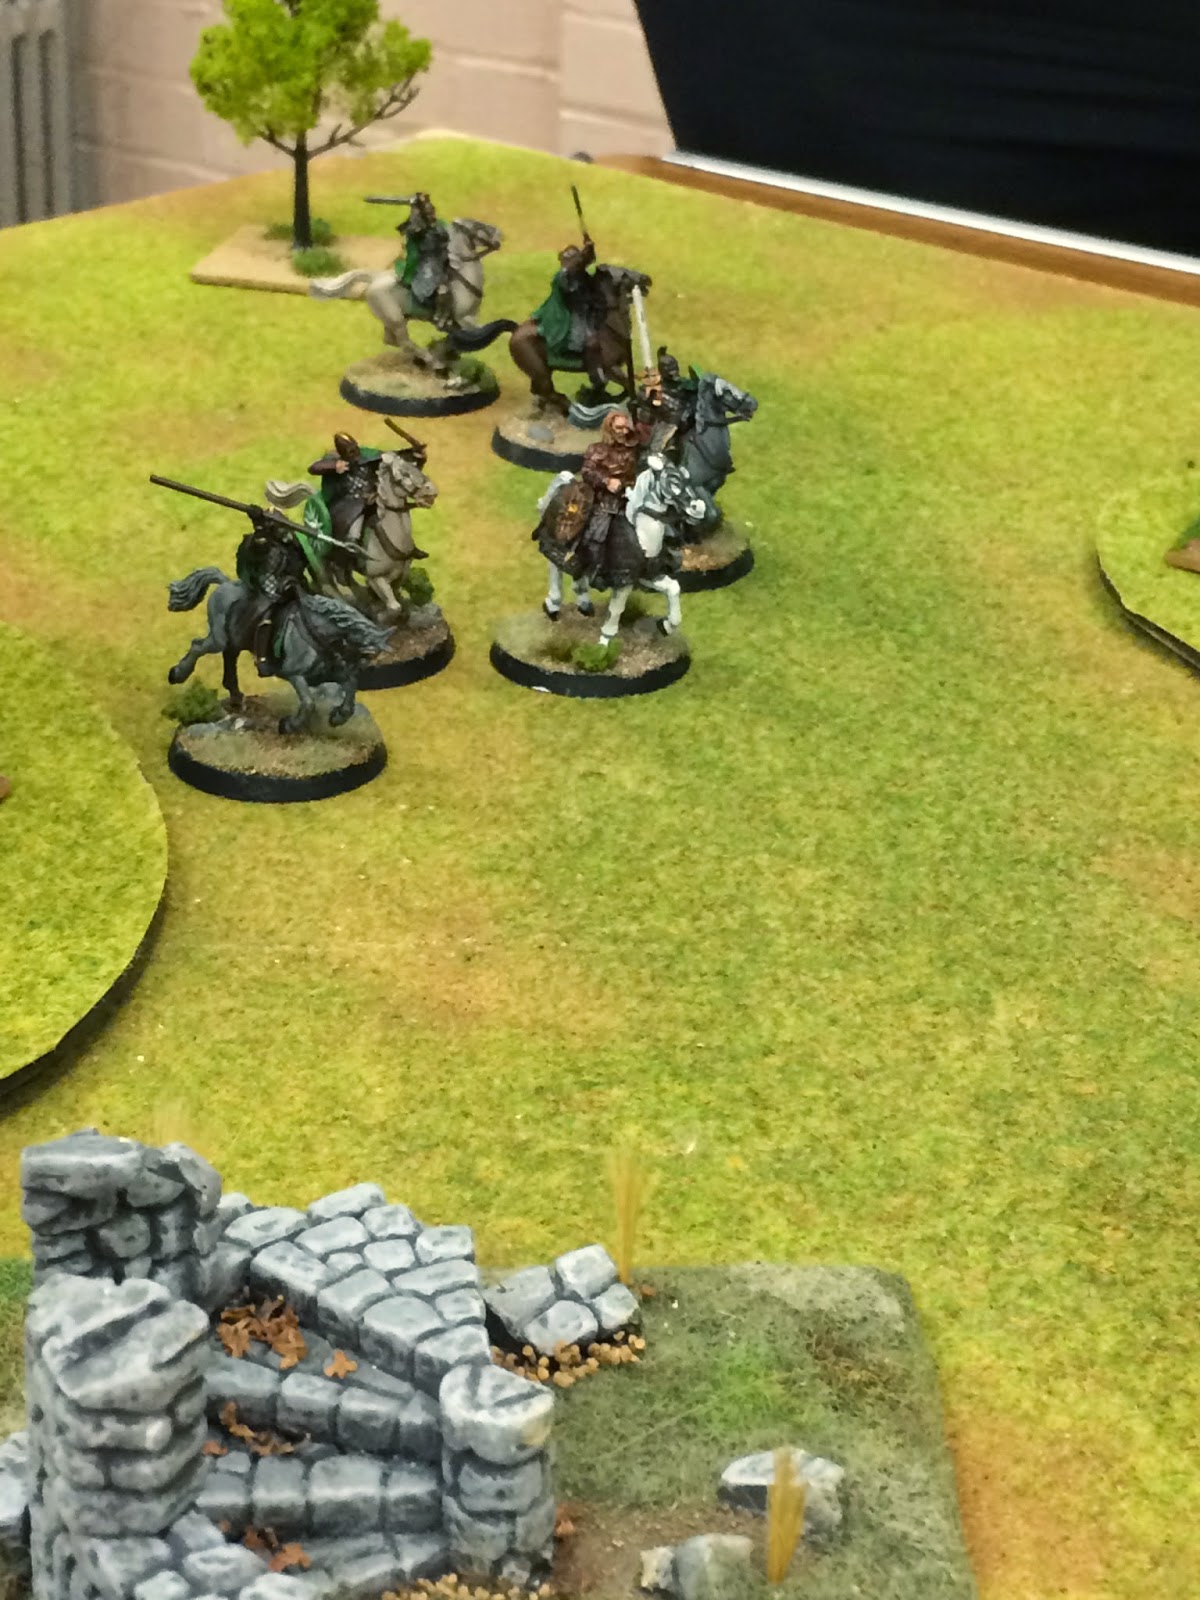
This time we used some terrain, as I thought it might be interesting to see if anyone decided to take advantage of it, so we set up a few hills and put some ruins on the Rohan right. In the end we only made use of the hills to gain good positions for our archers and ignored the ruins, effectively shortening the table to 5 feet.

Early game started with the Eoreds on the left flank electing to stay back out of crossbow range, while the King of Rohan led the Rohan Knights forward on the right flank. The Uruk-Hai cautiously advanced, trying to close the gap.  The shooting from Rohan was very effective, with much better than average success. The Rohan were trying to get rid of the Uruk crossbows as they were likely to make a mess of the Rohan cavalry.  The King of Rohan managed one charge inot the Uruk HAi scouts, causing lots of casualties before withdrawing away out of charge range of the troll, who was lurking on the flanks. Unfortunately this let the Scouts spend a couple of turns shooting at them, witling them down to a couple of stands.


Mid game saw the Uruk crossbows finally eliminated, but not before they had made a mess of Erkenbrand's riders.  The main combat finally took place in the centre of the field, with the Uruk Hai pikemen and Scouts charging the large group of Infantry in the centre, with Théoden and his Royal Knights piling in for good measure.  This time I managed to remember to use Theodesn Epic Charge, and the knights inflicted massive casualties on the scouts, before the infantry finished them and the phalanx off, but not before taking massive casualties themselves.


On the Rohan left flank the cavalry were now working on outflanking the remaining Uruk Formation, and with only that and the troll left we decided to call it a night. 

A bad night for Isengard, with missile fire playing a big part in their defeat.  It is starting to look like the most effective unit in the Rohan force are the Infantry, which is odd considering that the cavalry are supposedly their main strength. 

Its still great to get the Lord of the Rings stuff on the table, but I still think the game needs a big table to play on as the formations can be quite large. Perhaps I need to revisit my Impetus conversion and see if I can make that work?  As always, it depends on finding the time to do it.

Tuesday, 8 December 2015

Nelly the Oliphant

Its been a while since I played any Lord of the Rings, and with this Monday being essentially the last full Monday's gaming at the club this year I decided to break out my Haradrim for nice big battle.
 
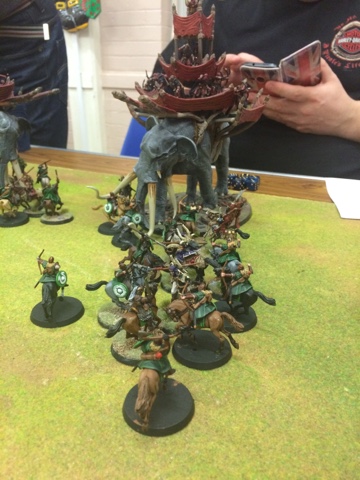
I have been acquiring Mumakil from e-bay, were you can pick them up for between 20 and 30 pounds if you look for long enough and now have three. I have spent the year gradually painting them up, along with all of the various other bits needed to get them on the table.
 
Deployment
This scenario was fro the Return of the King book by Games Workshop, but expanded enough to allow for all three Mumakil and all the Haradrrim cavalry, versus most of my Rohan cavalry.
 
The Rohan Force consisted of around 60 cavalry, made up of mostly basic Riders but with some Royal Guard thrown in for good measure. Also present was Eomer, suitable ticked off at the death of his Uncle at the hands of a Nazgul, a couple of other captains and some banners.
 
The Haradrim had three Mumakil, each with 12 archers in the howdah, and 2 of them were commanded by Mahud Chieftains, 18 Cavalry armed with a mixture of lances and bows and 5 Serpent Riders. They were all lead by the Serpent King himself.


In the scenario the Rohan get most of the 3ft by 5ft board to deploy their cavalry on, with the Haradrim being limited to a 1 foot strip down their table edge. The Mumakil would enter the game on turns three and four.
 
The Rohan chose to deploy aggressively, with most of their force deployed within charge distance of the Haradrim deployment. The Haradrrim players deployed all their forces on one flank, neutralising the superior Rohan numbers.  Turns 1 and 2 saw the Rohan charge the Haradrim, but the dice were not kind and they suffered a lot of casualties, while failing to inflict much damage of the Haradrim.
 
At the start of turn three the first two Mumakil arrived on the board, with much fanfare.  Luckily the Rohan had moved out of the way and avoided getting trampled by any but the 34 archers on the backs of the Mumakil made their presence felt and Rohan casualties started to mount sharply. 


Turn three saw a change in the Rohan fortunes, with the evil players all starting to consistently fluff their die rolls.  Everyone was starting to declare heroic moves at this point to desperately avoid the rampaging Mumakil, with the good side generally getting the better of them.  The Haradrrim cavalry were getting a bit thin on the ground by this point as well, and by turn 5 only the serpent king and the three Mumakil were left on the evil side of the board.  The Rohan were starting to run out of troops though and just did not have enough men to do the damage they needed to do to the Mumak.


In turn 6 the Rohan force finally broke, although a lot of them decided to fight on regardless.
The Haradrim decided it might be interesting to start firing at the Rohan engaging the Mumakil into combat, but this tactic did not succeed very well as in one volley Stewart managed to inflict 3 wounds on one of the unfortunate beasts with friendly fire.


BY the time we hit turn 8 their were hardly any Rohan left on the board, and certainly not enough to make any serious impact on the rampaging Oliphant's so we called it a night.
 
All in all an entertaining evening, if a little one sided in the end.  The Rohan objective was to kill the Mumakil, and the best they managed was to reduce one of them down to 2 wounds.  When I run this again I will definitely need to beef up the Rohan a bit, perhaps more men or some more Heroes. It is hard to tell though as the Rohan performed so badly in the first two turns of the game that they were fighting a rearguard action for the rest of the night.  It was good to get all the Oliphant's on the board though!.
 

Tuesday, 24 February 2015

Gruagach in the Woods


Back to Middle Earth for this week’s game. I got a pack of Woses for Christmas and they were pretty much the first things I painted this year.  They only appear in one scenario, in the Return of the King book.  In this scenario the Rohan are trying to sneak through some forests that are infested with Orcs and other nasties loyal to Sauron.  Theoden enlists the help of the Woses to guide them through the woods unseen.
The view up the board from the Orc edge.


In the scenario the good player has to get Theoden and half of the rest of the Rohan off the far edge of the board, while all the evil player has to do is stop him.  At the start of the game there are only a few orcs milling bout on the board, while the Wose are using their excellent woodsman skills to stalk the orcs unseen. Every turn D3 Rohan appear on the board, while D6 Evil troops also wander on to the board. If at the end of any turn there is an evil model within 6 inches of any good model the alarm is then raised and the remainder of the evil force arrives on the board, basically making the game virtually impossible for the good player to win.
Rory and Kenny volunteered to play, with me being the Umpire. Rory opted to play the forces of Rohan, leaving Kenny as the forces of darkness.
We started with the Wose fairly evenly spread across the board in small groups, with the orcs concentrated in the centre of the board.  The wose managed ti inflict some early casualties, while Rory opted to hang back with his Rohan so that he had time to build up his forces. Kenny started moving his troops up the board in an attempt to get them within the magical 6 inches that would allow him to deploy all 70 of his troops at once.  

Woses skuking in the woods.


Woses brek cover


Theoden marshals his forces.
Rory managed to get most of his Rohan on the board and inflict a few casualties before the inevitable happened and he was spotted.  He had managed to advance about half way across the board but was not facing an uphill struggle as Kenny deployed the remaining 50 or so orcs on to the board.  


Charge!

Theoden being the mighty hero that he is he promptly dug in his heels and led the headlong charge into the heart of the orc forces, trying to force his way through.  There was a lot of early successes from the good side and the orc casualties started to mount quickly, but it looked like there were going to be to many orcs to fight.  Rory decided to change his route of attack and Theoden led his troops over the hill and charged off the ridge into the orc forces, cutting down a lot of orcs and managing to exit the board, along with three of his warriors.
The alarm is raised and the orcs arrive.

Theoden leads the charge

Too many orcs!


The lasft few rohan flee the field.

Alas the rest of the Rohan did not fare so well, and were soon overwhelmed by the orcs. In the end both sides were broken on the same turn and the majority of the remaining Rohan fled the field, leaving to few left for a Rohan win. We stopped at this point and didn’t bother rolling to see how many orcs fled the field as there was no point.
A good scenario, and in the end the Rohan gave a very good account of themselves, with nearly 40 orcs killed for the loss of 7 Rohan lost and 6 woses.  The only thing about this one is that it could be very easily be ruined by one player being a bit “gamey” in their approach, rather than playing in character.  I think the key to this one is to move the Wose ahead of the Rohan, making best use of cover to eliminate the orcs before the cavalry reach them as once the alarm is raised it is pretty much game over unless the good player has managed to get pretty close to the board edge.
Next week is another visit to Middle Earth, and we are probably going to have another go at this scenario.