Thursday, 24 April 2014

And now the Gallery ( a rubbish one)....April

I have not managed to get a game in for a few weeks now.  I was away on Holiday at Easter and my planned game of Epic fell through on Monday due to a  mix up (boo!). A real same as I was really looking forward to getting a game of Epic in.

So I have just finished painting my German Platoon for Chain of Command.  They are all from Crusader miniatures. I still need to base them and then get them all varnished, but at least I can get a game in now and not have to borrow someone else toys, or maybe I only need to borrow some for the support elements until I get them painted.

They are a bit of a rush job and certainly the last squad of the four was.  I found them quite frustrating to paint as all the straps, pockets and pouches made them quite "bitty".  I will certainly be glad when I get all the support elements finished.

The other thing is I was suffering a slight case of painting fatigue due to painting them so quickly so the quality is quite variable.


Once again the photos are taken off the cuff and are off a terrible quality. Hopefully we will be moving house this year and will have the space to allow me somewhere to take decent photos of my miniatures.

No game on Monday as I have somewhere else to be. 


Tuesday, 8 April 2014

Assault on La Quesnoye

This Monday we kicked of our WW2 Chain of Command campaign, "48 Hours in May."

John has kindly agreed to referee a short campaign with six players. There are three a side and it is set in France in 1940.  

Marco, Pete and myself opted to play the Germans, while Barry, Ian and Allan were the French.

We were going to play a ladder campaign, with a possible three points of Assault. After some discussion we decided to attack at two points, keeping a third platoon in reserve just in case of heavy casualties.

I was given the task of assaulting the small village of La Quesnoye, which was on the German right, next to the main target of La Mahon.  Ian would be commanding the French defenders, and as such was allowed to use the terrain maps provided to set up the board.

The scenario was number 2 from the Chain Reaction rulebook, "The Probe".  The German objective was to get a single section or team into contact with the French table edge, while all the French had to do was stop them. A difficult one for the Germans to win, especially given the time constraints of a Monday night.

I rolled a five for support, which by the time you factored in the bonus the French allowed to even up the forces allowed Ian to choose the almost obligatory Off table mortar and spotter, and a few minefields. The scenario also allowed for him to have a couple of emplacements. I opted for an adjutant, as I wanted to get all my commanders on to the board and not have to worry about whether or not the rest of my troops would deploy without a senior officer behind the lines egging things on.  For the other four points of support I opted for an armoured car.  It was very lightly armoured but had a decent main gun, plus I warned my opponent before hand that I was going to bring one.

The patrol phase kicked off and I managed to get two jump points on the outskirts of the small village on my right flank, while I ended up with one on the left, back in the wood lining my edge of the board. 

Early game I deployed a squad of Germans on my right flank and started to try and get into the town. Ian deployed very quickly and in two phases had virtually his whole force deployed, heavily weighted towards the German right flank. After he had deployed Ian pretty much went to ground as his entire force was deployed in hard cover.  I quickly brought on my 5cm mortar and my armoured car and tried to push up the board.  

There was some exchange of fire, with my single deployed squad starting to come off second best against the weight of French fire against it. I managed to get a second squad deployed nd advanced into one of the central buildings, which put some pressure on the French, basically cutting their forces in two.  I managed to bring the armoured car up the centre and between that and the central squad they inflicted heavy casualties on the French squad that was guarding their right flank, pretty much leaving it wide open.   At this point Ian had finished thumbing through the book tried to find a solution to the armoured car but the best he could managed was to drive it off, so he decided to withdraw before his casualties were too great, leaving the Germans in control of the field. First combat of the campaign and victory to the Germans.
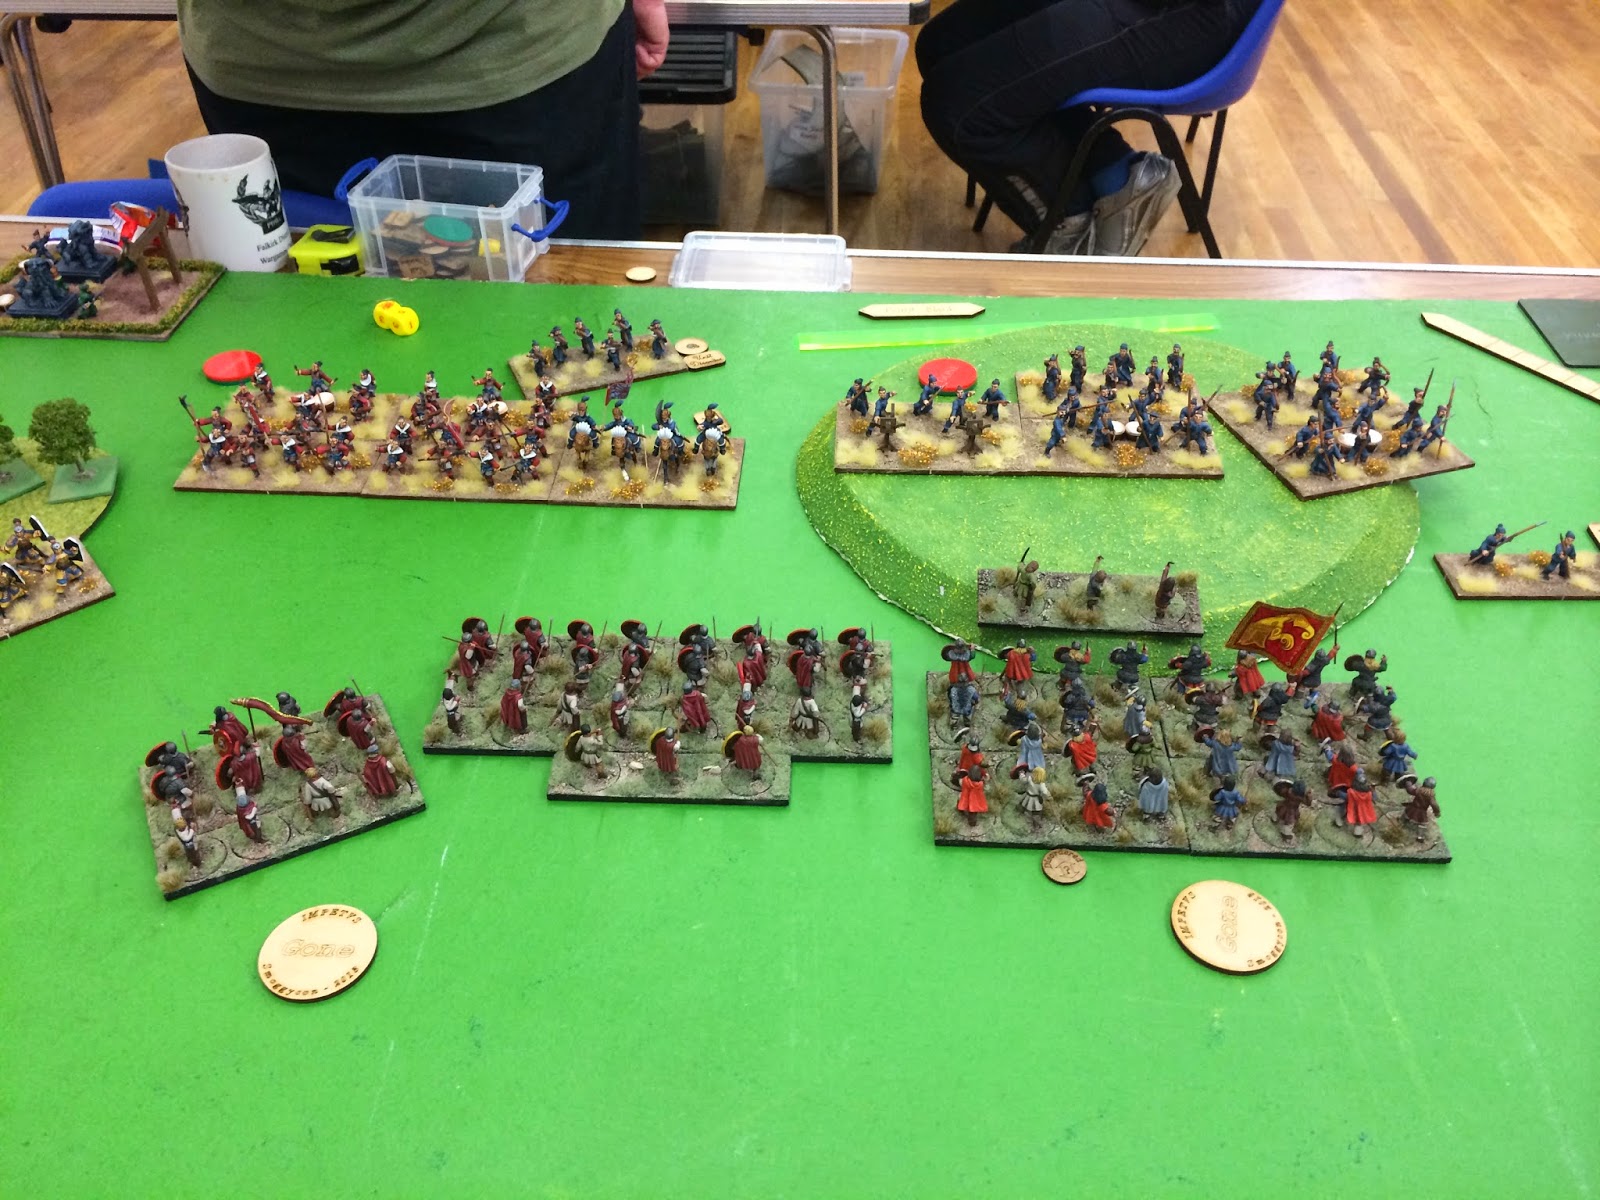
Patrol Phase

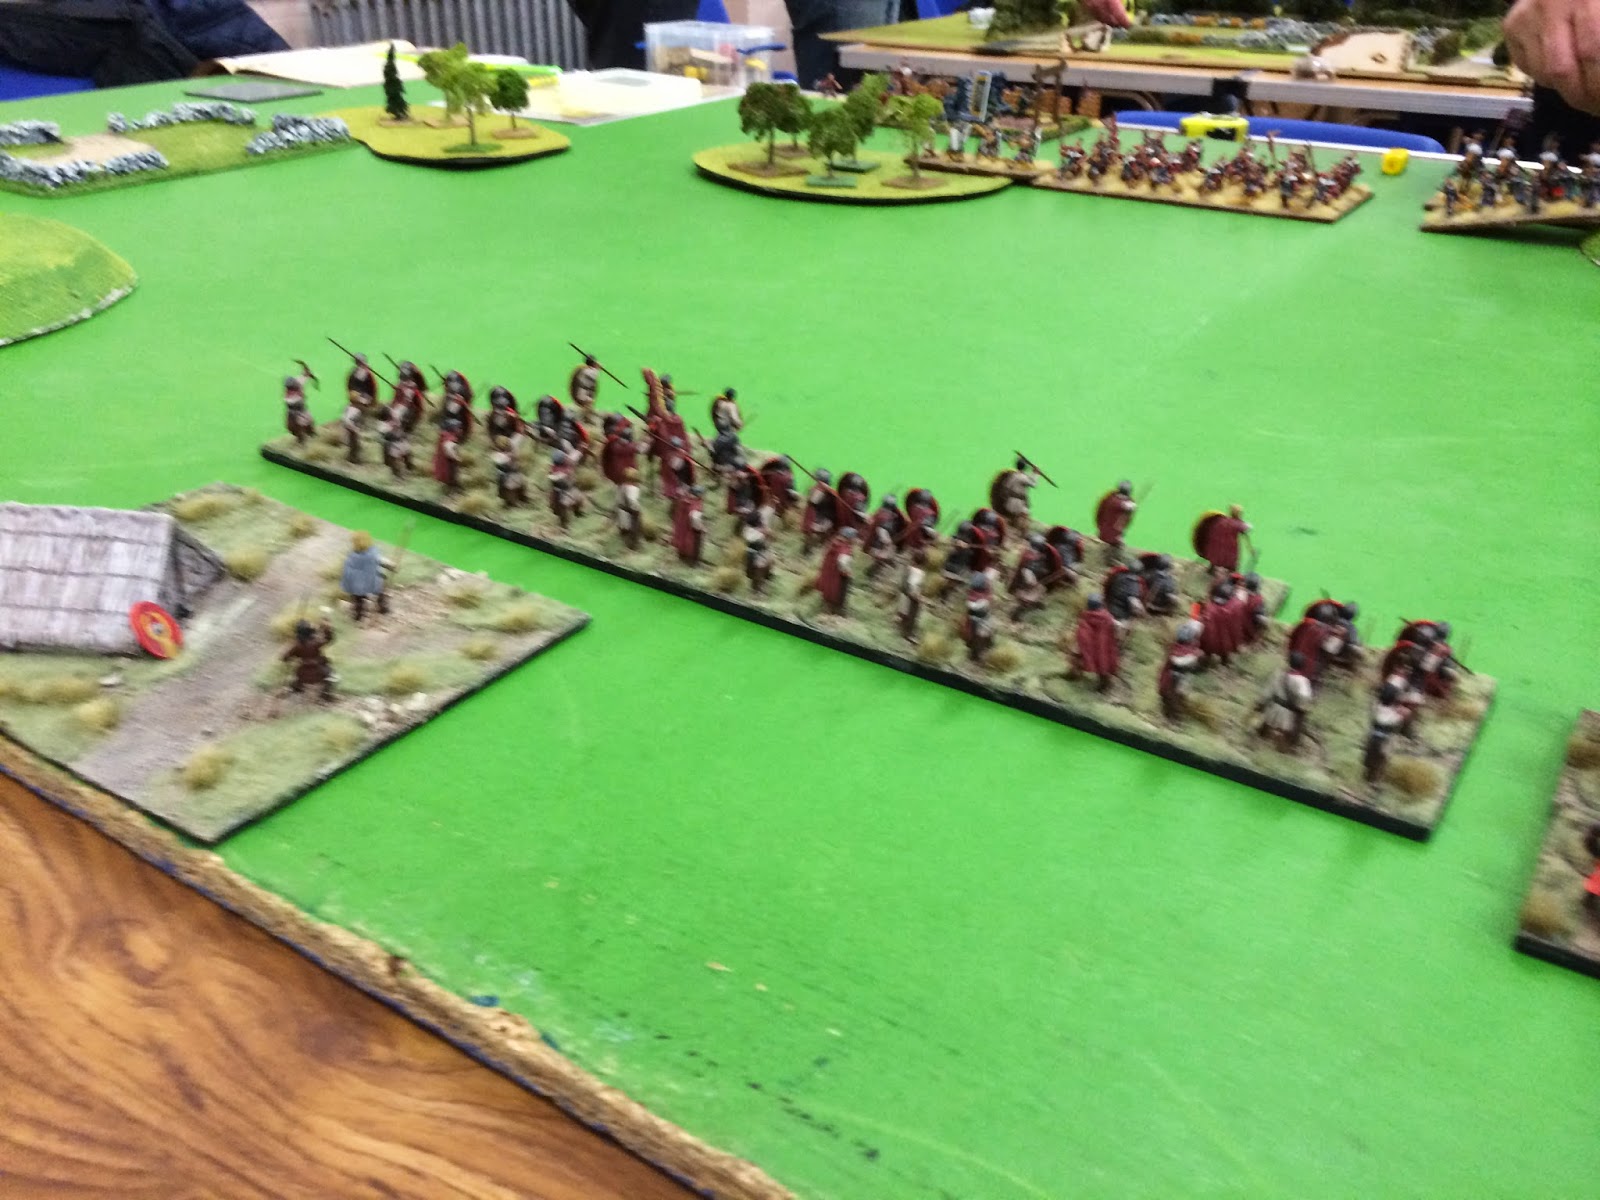
Germans start to probe the French defences

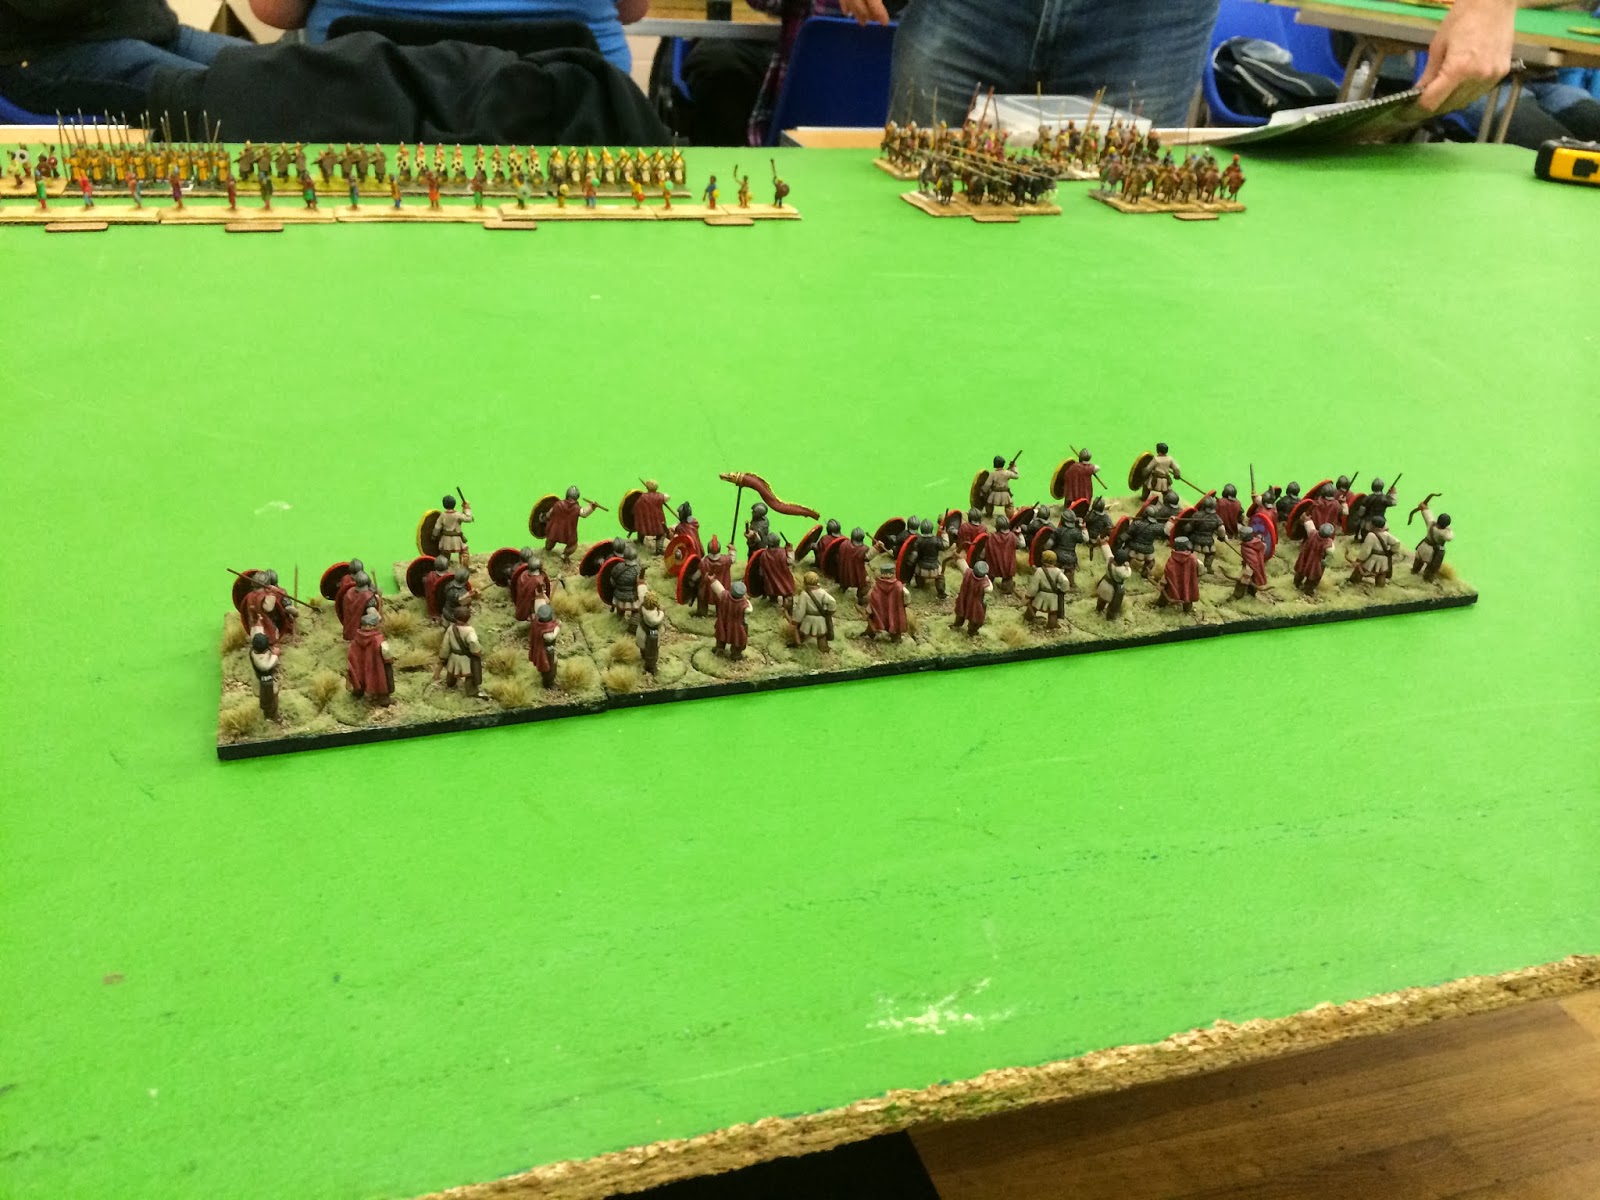
The French deploy in numbers to deflect the German probe

The French line is looking pretty strong.
A fairly bloodless game, with only three Germans felled during the game, and 4 French. 

We are both complete novices at Chain of Command and it showed. We both spent a lot of time looking through the book to check rules and make sure we were doing thing correctly. This was my 5th game of Chain of Command, while it was only Ian's third. 

Ian never managed to get a mortar barrage off during the game as he just could not get his spotter into the right position, which was telling.  He also did not bring my anti-tank ability so was on the back foot right from the start.  I also was a bit nervous about the mortar barrage and the effect they could have on the game, so I opted not to take one and see what sort of things could be achieved without relying on it.

The first game I played of Chain of Command John talked about the "four f's."   Find, Fix, Flank and Finish.  It is easy to dismiss this kind of thing while getting buried in the game and all its rules, but I am beginning to realise that it is in fact the key to success.  If you hunker down and not move you will be outmanoeuvred and eventually you will lose. You cannot rely on just your firepower to do the job. 

I also think that having a good range of support options is essential to get the most out of the game. The threat or coming up against some kind of armoured vehicle, even just a small armoured car is enough to make your opponent think carefully about what he takes as support. While I am not advocating taking a Tiger2 at every opportunity it is still a good thing to have the threat.

The fact that this was a campaign also altered the dynamic a lot. Under normal circumstances I am sure Ian would have fought on a lot longer and tried to hold my Germans off until the end of the evening, regardless of casualties, but as he was going to have to use the same force again in the follow to this he decided to give ground and preserve his forces. A pretty good decision in the end.

I really need to get a move on and get my Germans finished, so that I can stop pestering John to borrow his toys. I onyl have ten to do and then I will have the basic Platoon painted. Then I jst need to select what support options I would like to have access to.

So the Germans are off to a good start, and it is up to Marco to repeat the success next week on the road to Fort Mahon.  I am away on Holiday next week so will need to wait until I get back to find out the results.

Tuesday, 1 April 2014

Getting Near the End

Game Eight of our Mordheim campaign rolled around, with all the usual suspects involved.  This time were trying to capture one of the Dark Lords minions, so that he could be questioned to ascertain the whereabouts of his lair.

We had a pretty dense table set up with lots of ruins littering the table.  The evil minion was deployed in the centre of the board, with his four skeleton bodyguards. We rolled randomly for deployment and I ended up wedged in a corner, with Rory to my right (again) and Ian to my left.  After the last game I decided that I could rely on Ian to be a bit cautious and bide my time to see what people did.

Andy moved straight towards the centre of the table. Ian and Dave advanced cautiously, trying to use their archers for cover. Rory decided to split his warband in two. Half of his force advanced towards the centre of the table, while the other half formed up to keep an eye on my Beastmen. His first shot of the game managed to take one of my warband out of action though. Not a good start!   

On my third turn my Centigor went Frenzied and charged straight into Rory's ogre bodyguard, so basically the whole warband followed in behind.


I managed to do a fair bit of damage, with my Centigor taking out the Ogre with his charge. It was not without casualties though, with another two of my Beastmen going out of action. Still I managed to take out 7 of them in short order, by which time I had lost three of my number.

Elsewhere on the table Andy had taken some casualties to sniping and from fighting the evil minion and his skeletons, while Ian advanced very cautiously towards the centre.  Rory failed his rout test and was out for an early bath.  I circled the action cautiously.  Andy and Dave then got stuck in where Andy's early losses cost him and he eventually decided that his losses were too great and he retreated from the field. Then there were three.  We started circling round each other, with my Beastmen using their superior movement to put the two human warbands close to each other in the hope that they would have a go.  They did and I started to move in to pick off some of Dave's stragglers.


. After a few rounds of fighting Dave decided that his warband had had enough and called it a day, leaving me to face off against Ian's Reiklanders.  I advanced quickly, while Ian managed  a few potshots that hod no effect.  I eventually managed to get in a good charge with my warband and started to inflict a few casualties, but Ian has made his warband quite resilient and I did not do anything like as much damage as I would have liked.  Apparently I did enough though as Ian decided to preserve his warband and fled the field, leaving my beastmen victorious!

To top off the evening I did not suffer any casualties and found a fairly hefty amount of loot. I even managed to capture the Matriarch from Andy's sisters of battle. I had a few options hers, ransom and sacrificing her among them.  Being nasty evil types my Beastmen nicked all her gear and threw her in the cooking pot.  Winning this game has given my Beastmen an advantage in the penultimate game of the campaign, where we search for the entrance to the evil necromancers lair.

All in all a successful game for me, and a disaster for others. I sometimes think that failing your break test as soon as you have to take one can be a blessing as some of the members suffered some pretty horrendous losses from this game.  Two games to go as part of this campaign, and I am really looking forward to seeing what Rory has up his sleeve for the last games of this excellent campaign.

Next week we are kicking of our Chain of Command campaign, with my German Platoon leading the assault on a French defended stroghold in 1940. Looking forward to it.

Wednesday, 26 March 2014

Exercises in France

Marco and I will shortly be commanding the Germans in a short Chain of Command campaign at the club. As a sort of training exercise we decided to have a trial game of the opening scenario of the campaign, to see how we could play it.

We opted for the probe scenario, with Marco attacking with the Germans and I would be commanding the valiant French troops.

We ended up with the same amount of support and I opted for a MMG and the almost compulsory off table mortar support.  Marco opted for a Panzer4. this caused a a bit of a problem as I was not aware that we were going to be using Tanks in this game, and I had no way of actually stopping it.  Being a good sport Marco allowed me to swap out the MMG for an anti tank gun so that helped to even things up a bit.


After the patrol phase had been completed we ended up with all our jump off points centred around the small cluster of buildings on the left flank. I had managed to get a drop off point into one of the buildings and decided to use that as my strong point.

Marco was very cautious in his advance and attacked on a fairly narrow frontage, while trying slip one squad of Germans up the flank.
I had a few problems stopping the tank, but Marco basically advanced his Germans up a very narrow frontage and when I managed to call in my mortar barrage on top of two of his four squads there was not really much he could do about it.


Marco never really managed to advance much further, and apart from his tank taking a few pot shots at the French that were holding the main building never managed to achieve much else, so we called it a day.

A few lessons from my third game of Chain of Command:

Off table mortar batteries are probably the best support choice you can get. They are very effective and there is virtually nothing your opponent can do to stop them.

Always spread out! Marco sent most of his force up a very narrow frontage and as a result of this it was fairly easy for my smaller French force to stop him.

The French struggle to stop Tanks, as they're anti tank guns are quite weak.  I am reluctant to start using tanks in CoC unless it is both sides have access to them. Otherwise it becomes  a bit "I win as I have better toys than you" rather than winning properly, using tactics and luck.

Still enjoying the game though and am going to give some thought about how to tackle the problem of mortar barrages.

Next week we are returning to Mordheim for game eight of our ten game game campaign.  Looking forward to it.

Tuesday, 18 March 2014

Romans Lose their Way

So another game of Impetus, again at 500 points with three commands.

I brought the same army as last week, consisting of three commands. One of a mixed bag of cavalry, one of heavy infantry with archer support and one of Impetuous infantry and cavalry.  This time I was playing Fraser, and he brought his Yuan Chinese.  I do not own a copy of Extra Impetus 5 and know nothing about the Eastern armies as I have very little interest in them  Consequently I had very little idea of what they were capable of. 

We used an eight foot table and set up a few hills, along with some woods and a field on my left flank.  This basically made 2 foot of the table length unavailable.

I deployed my Heavy Infantry to the left, with the Impetuous Allies in the centre, and my cavalry wing on the right flank, although there was barely enough room to get the on the table.

On the opposite side of the table, Fraser deployed an array of heavy infantry in large units against my left, another set of large infantry units and some artillery in the centre, occupying a hill, and some cavalry against my right.  The infantry face of looked like a fairly even match, but I had the advantage in numbers on the right flank, so I hoped that my cavalry could quickly overwhelm Fraser's flank while my heavy infantry advanced across the table. Making my cavalry a crucial part of my plan was the first mistake of the evening as they tend to under perform on a regular basis.


Early game saw me begin the long slog across the table. Fraser made it pretty clear that he did not plan on advancing so it was up to me to close the distance into the teeth of the enemy crossbow and artillery fire.  Meanwhile on my right flank I tried to get stuck in with my cavalry but some early shooting casualties and the limited space severely limited any progress.


This was set to be a rather frustrating night, with Fraser having some extremely successful shooting and causing me no end of trouble.  He quickly got two of his three generals to raise a command level as well and managing to get the better of me in almost all of the melee's that we fought.  It took me most of the evening to slog my way across the table with my infantry, taking some losses on the way. Unfortunately I was so focused on just getting across the table that I let Fraser get the drop on me and ended up on the receiving end of the Chinese infantry and getting a serious duffing over.  My cavalry were gradually managing to grind down the Chinese cavalry, but should have managed it a lot more quickly considering I had an advantage. I cam very close to eliminating Fraser general but alas my cavalry reverted to type and managed to make a mess of things. In fact my whole army generally performed pretty terribly, with a lot a sixes being rolled for cohesion tests.  


In the end we stopped before the game had reached an official conclusion s it was getting late and I was in no position to do much of anything to salvage what had turned into a disaster.  Still good fun, if a little frustrating.  I failed to make the most of cavalry advantage and paid the price for it. I should also have hung back with my infantry a bit as well.

I am becoming increasingly frustrated by the Impetuous troops in my army list. The advantages of the large warband seem to be offset by them being so unwieldy. Also while I think the Musketeer Miniatures Saxon range is an excellent range they all have open hands that you have to glue the spears into.  This is in contrast to his Late Romans where all the hands are modelled as closed fists that you then drill a hole in to hold the spear firmly in place.  With the Saxons every time you look at them a spear seems to fall of one of the models.  I have tried superglue, 2-part epoxy and a mixture of the two but I still seem to permanently have half a dozen models with missing spears. It is very frustrating.

Next week is a practice game for our Chain of Command campaign.  I am commanding a German Platoon as we carry out an assault on the French town of Bainthun.


Tuesday, 11 March 2014

Proper Impetus

In our club there are quite a number of people who play Impetus, including some who enjoy tournament gaming. As such the default game of Impetus is to use whatever the tournament standard currently is.  At the moment that appears to be 350 points, which is what my last game was.  

I really dislike tournaments and so for this game Pete and I decided to see how a 500 point, three command game would work in 28mm.  I would use my Late Romans and Pete opted to bring his Sassanid Persians.  We used an 8 by 4 foot table and randomly generated the terrains, which as it turned out resulted in a completely empty board.

I split my army into three wings.  The centre was held by my always reliable heavy infantry, with supporting archers and some skirmishers. On my right I put my cavalry forces. Two heavy cavalry, two medium and two light.  My Saxons were standing in as Visigoth allies, and I stationed two large warbands, 2 units of impetuous heavy cavalry and one unit of skirmishers to hold my left flank.

Pete stationed his Medium cavalry on my right, a large number of spearmen with skirmish support in his centre, and his Armenian allies on my left. The Armenians consisted of some Light cavalry, one unit of mediums and a couple of units of archers.


View up the battlefield

Visigoths hold the left flank

Infantry in the centre

Cavalry on the right.
We kicked off with my army advancing in good order. I decided that it was more important to avoid disorder than move quickly so opted for a slow and steady advance with most of my army.  My light cavalry started to harass the Persian Horse while I tried to manouever my heavier horse into a good position to charge.  Almost the entirety of Pete's line was armed with missile weapons and advanced to within range. Luckily Pete's dice rolling was pretty awful and I got off with no casualties.

I eventually managed to get my heaviest cavalry unit into contact with Pete's general, and a protracted melee followed. 

I also managed to get my other heavies stuck in and after a few rounds of combat I defeated both units, for the loss of one of my units of heavy cavalry. This broke Pete's flank command, leaving his left flank open to my cavalry.

On the other flank my Impetuous troops were busy trying to get to grips with the Armenian horse archers and generally failing.  Pete charged in his unit of Medium cavalry into one of my heavy horse, and the ensuing combat actually lasted for the remainder of the game.  This was a good thing as the other unit of heavy cavalry was gradually shot to pieces by the horse archers and foot archers.

Visigoths start chasing after some slippery Armenian


The Persian left flank hoofs it (sorry!).

My centre continued the long march towards the Persian centre where a short range exchange of missiles ensued. This managed to disorder a few of my units, and Pete took advantage of this and charged in with his line of spearmen, with neither side managing to gain much of an advantage.


This continued while I tried to bring my cavalry to bear on the Persian centre, but in the end I managed to get one of my large Visigoth warbands in to contact with a unit of Pete's light infantry, and then followed that up with a lucky flank charge on a unit of skirmishers which managed to break Pete's centre command, and consequently his army.

On my left flank one of my units of Heavy Cavalry was basically shot to pieces by all the Light Horse, while the other unit managed to drag the combat it was engaged in out for the remainder of the game.

Still at it, even at the very end.

Romans rushing towards the Persian centre


This was probably one of the most entertaining games of Impetus I have had, although Pete had a terrible night. He invested heavilly in shooting and it failed to pay of for him. Having multiple commands makes the game turn much more interesting, and the whole mechanic actually makes sense.  Also the larger size of the game means that you are less likely to lose the whole game as a result of a couple of bad cohesion tests.

I have also realised that Impetuous heavy cavalry are very vulnerable and need some kind of support, otherwise they will have a very hard time of it.  Or you could just bring loads of them of course.

I think in the future this will be my preferred way of playing Impetus in future. I am having another bash at this next week, against a barbarian type horde and am looking forward to it.